

Please note, this post may contain affiliate links. Visit Devine Fairytale’s Disclosure Policy for more details.
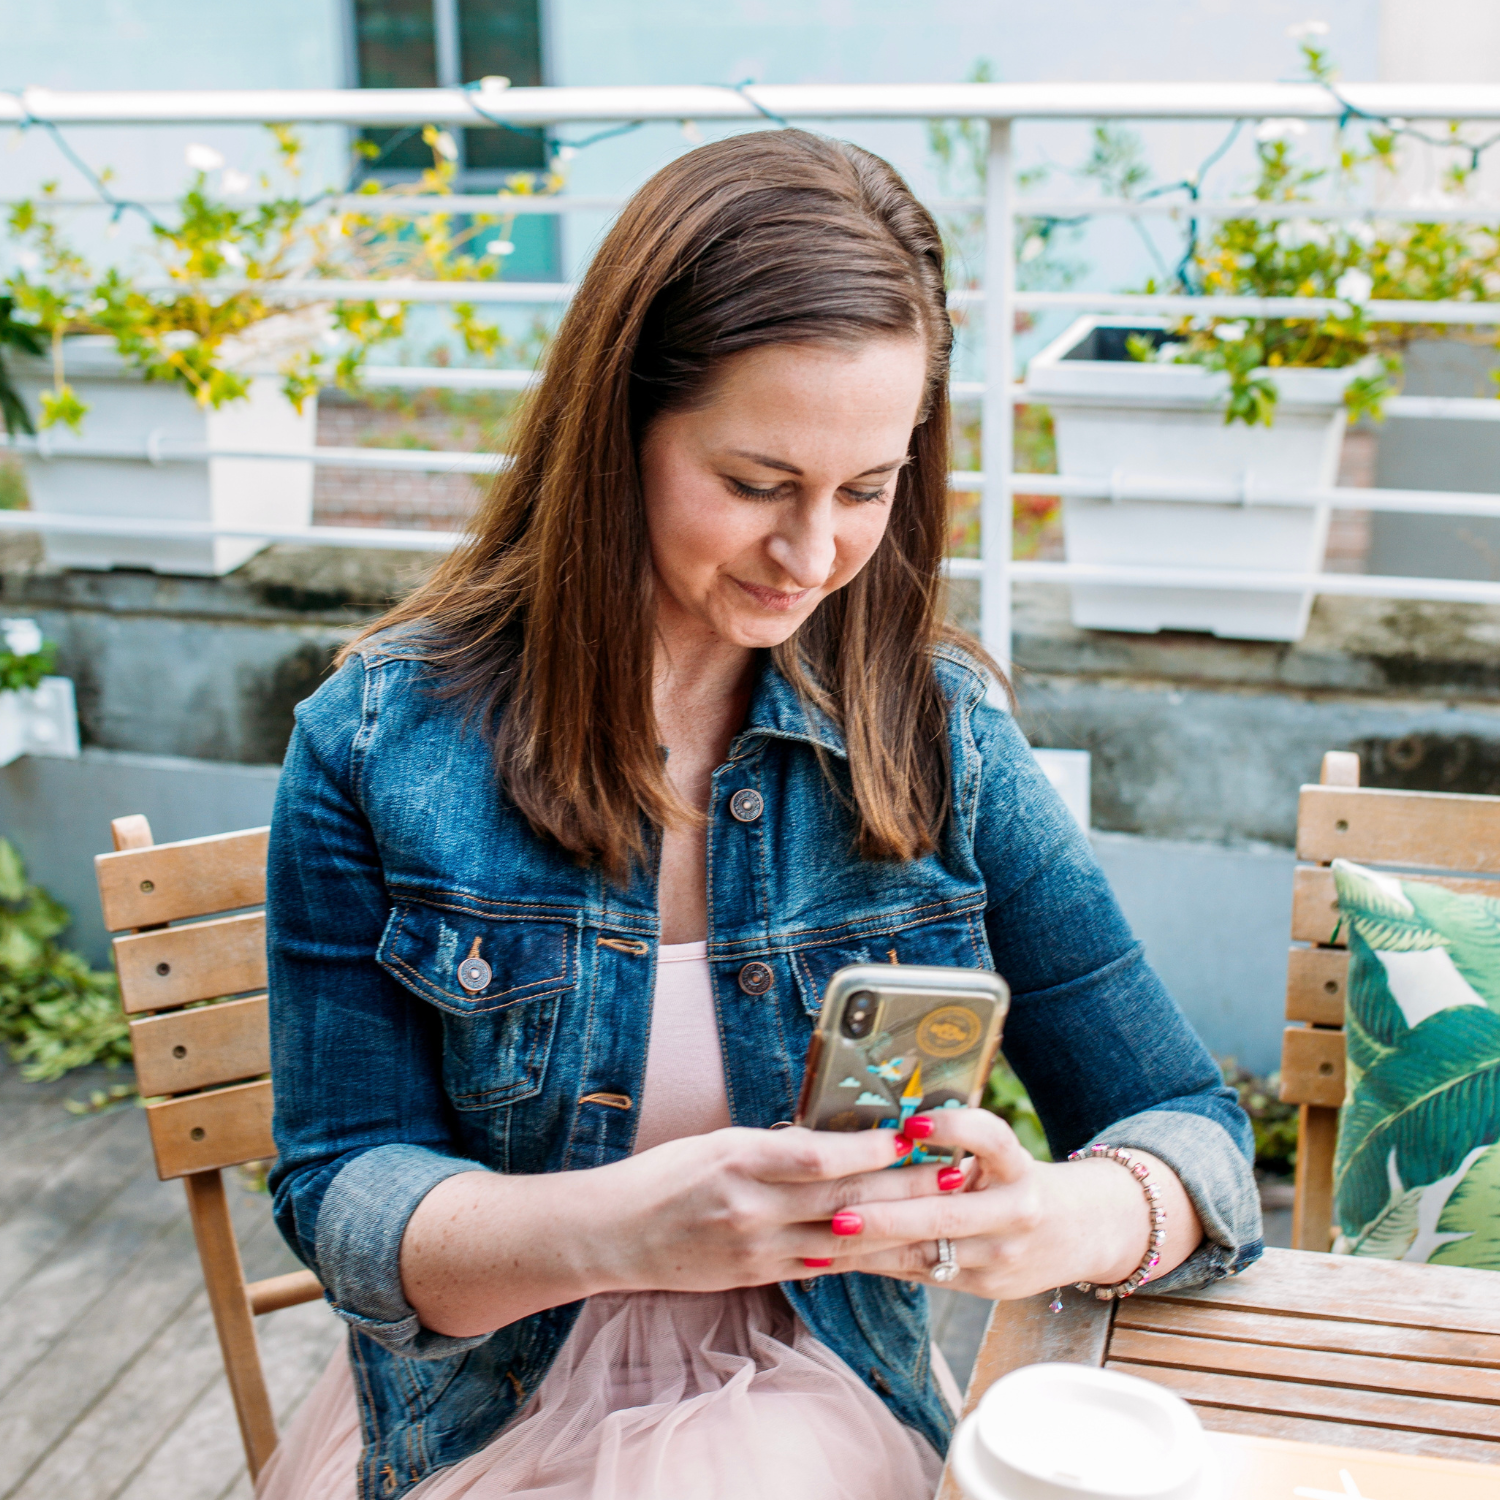
Planning a trip to Walt Disney World involves a lot of moving pieces. Park tickets, dining reservations, Lightning Lane selections, hotel details, and attraction wait times all come together to shape your day in the parks. The good news is that Disney has created a tool that keeps everything organized in one place. The My Disney Experience app acts as your digital hub for planning and navigating your vacation.
Once you know how to use it, the app becomes one of the most helpful tools for making your trip smoother and less stressful. Here is exactly how to use the My Disney Experience app and the features you should know before you arrive at Walt Disney World.
What is the My Disney Experience app?
The My Disney Experience app is the official Walt Disney World mobile app that connects all of your vacation plans in one place. Think of it as the control center for your trip.
Inside the app you can:
- View Disney wait times for attractions
- Join virtual queues, when available
- Purchase and manage Lightning Lane selections
- Check park maps and directions
- Book dining reservations
- Mobile order food at quick service restaurants
- View PhotoPass photos
- See your full daily itinerary
- Manage resort hotel reservations
One of the features guests love most is the interactive park map. The GPS navigation helps you find attractions, restaurants, restrooms, and entertainment locations across all four parks. If it is your first visit, this tool alone can save you a lot of wandering around the parks.
The app also has a feature that is perfect for keeping your travel companions in the loop. You can share plans, make Lightning Lane selections, and even find and order meals right from the app.

How to Use My Disney Experience App
Getting started with the app is simple and it only takes a few minutes to set everything up.
First, download the My Disney Experience app from the App Store or Google Play. The app is completely free.
You’ll need to create a Disney account. You can do this by going to the My Disney Experience website or through the app itself. If you have Disney+, your same login information should work for the app.
Once you have an account, you can start linking your park tickets and hotel reservations, as well as dining reservations if they’re within your booking window.
When everything is linked, your plans will automatically appear in the app under the “Future Plans” section. This becomes your daily itinerary during the trip.
If you’re staying at a Disney World Resort hotel, you can even use the app to check in online before arrival and add a credit card to your hotel.
Once you’re all checked in, you’ll get notifications on arrival day with your room status. When your room is ready, you can head straight there and use the app or your MagicBand to unlock the door.

What is a MagicBand?
A MagicBand is a waterproof wristband that connects to your My Disney Experience account. It allows you to tap into the parks, enter Lightning Lane attractions, unlock your resort hotel room, and charge purchases to your hotel account.
While not required for Disney trips, they certainly make your vacation easier. Many guests love using them because they make things quick and convenient.
To get started with a MagicBand, you’ll need to link it to your Disney account. You can do this by going into the “My Profile” section of the app and selecting “Add or Link a Band.”
Disney also introduced Magic Band Plus, which includes interactive features throughout the parks. It can light up during nighttime shows, interact with select statues during the Disney Fab 50 Character Collection scavenger hunt, and connect with some attractions.

How to Link My Disney Experience Accounts
If you are traveling with family or friends, linking accounts makes it easier to plan and manage activities together.
When accounts are connected, you can make Lightning Lane selections for everyone, book dining reservations as a group, and see each other’s plans.
Using the My Disney Experience Website
Sign in to your Disney account on the Walt Disney World website.
Go to My Family and Friends List under My Disney Experience.
Select “Add a Guest” and enter the email address of the person you want to connect with.
Once they accept the invitation, your accounts will be linked.
Using the My Disney Experience App
Open the My Disney Experience app and tap the menu icon in the bottom right corner.
Select My Profile, then choose Family and Friends List.
Tap Add a Guest and send an invitation by email.
Link Accounts With a QR Code
If you are together in person, you can link accounts instantly with a QR code.
Inside the app, open My Profile and tap Show My Linking Code. Your travel companion can scan this code using their phone.
The linking code expires after 30 minutes, so it is quick and easy to reconnect if needed.
Ready to keep your trip to Disney stress-free and organized? These free Theme Park Planning Pages are perfect for mapping out your days, keeping track of reservations, and making sure you don’t miss a single magical moment. Download them now!
What Information Can Your Friends & Family See
When you connect with friends or family in the app, certain information becomes visible to each other.
This may include:
- Name and profile icon
- Plans and reservations
- Dining reservations
- Attraction selections
- Disney PhotoPass photos
- Family & Friends list
You can adjust privacy settings if you prefer to keep certain details private. There is an option to only share plans with those who are involved with the same plans, which many prefer.

My Disney Experience Tips
Once you start using the app in the parks, you will quickly realize how helpful it can be. These My Disney Experience tips can help you make the most of it.
- Check Disney Wait Times: One of the most useful features of the app is seeing Disney wait times in real time. Instead of walking across the park only to find a long line, you can quickly check wait times and adjust your plans. The map view even lets you sort attractions by shortest wait.
- Mobile Order to Skip Food Lines: Mobile ordering is one of my favorite time saving features. Inside the app you can browse menus, place your order, and choose an arrival window. When you get to the restaurant, tap “I’m here” and your food will be prepared. This saves a surprising amount of time during busy lunch and dinner hours.
- Keep Everyone Connected: When accounts are linked, everyone can see the same plans and reservations. It helps avoid confusion and makes it easy to split up and meet back later. For example, one person can grab snacks while another checks wait times for nearby rides.
- View and Download PhotoPass Photos: All of your Disney PhotoPass photos will automatically appear in the app. If you purchased Memory Maker, you can download them right to your phone. This makes it easy to share your vacation memories with family and friends.
- Bring a Portable Charger: The app is incredibly helpful, but it does mean you will use your phone quite a bit throughout the day. Portable chargers are a must for Disney trips. FuelRod chargers are popular because you can swap them for fully charged batteries at kiosks throughout the parks.
Looking for the best travel essentials or Disney-inspired finds? I’ve rounded up all my favorites on Amazon, from park must-haves to magical extras. Take a peek and snag some goodies for your next vacation!
Why the My Disney Experience App Is Essential for Disney World
The My Disney Experience app truly changes the way guests experience Walt Disney World.
From checking attraction wait times to mobile ordering meals and managing Lightning Lane selections, it keeps everything organized in one place. Instead of juggling papers or trying to remember reservation times, you can simply open the app and see your entire day.
When you take a few minutes to learn how to use the My Disney Experience app, it becomes one of the most helpful tools for navigating the parks with confidence.
And if you want help planning the rest of your Disney vacation, from choosing the right resort to building a smart park strategy, that is exactly what I help my clients with every day. A thoughtful plan paired with the right tools can make your Disney trip feel smooth, fun, and truly unforgettable.

Everything You Need To Know About MagicBand+
[…] will need to link your Magic Bands to your My Disney Experience account and install the update before you can use your new band. Here’s the process to get […]