
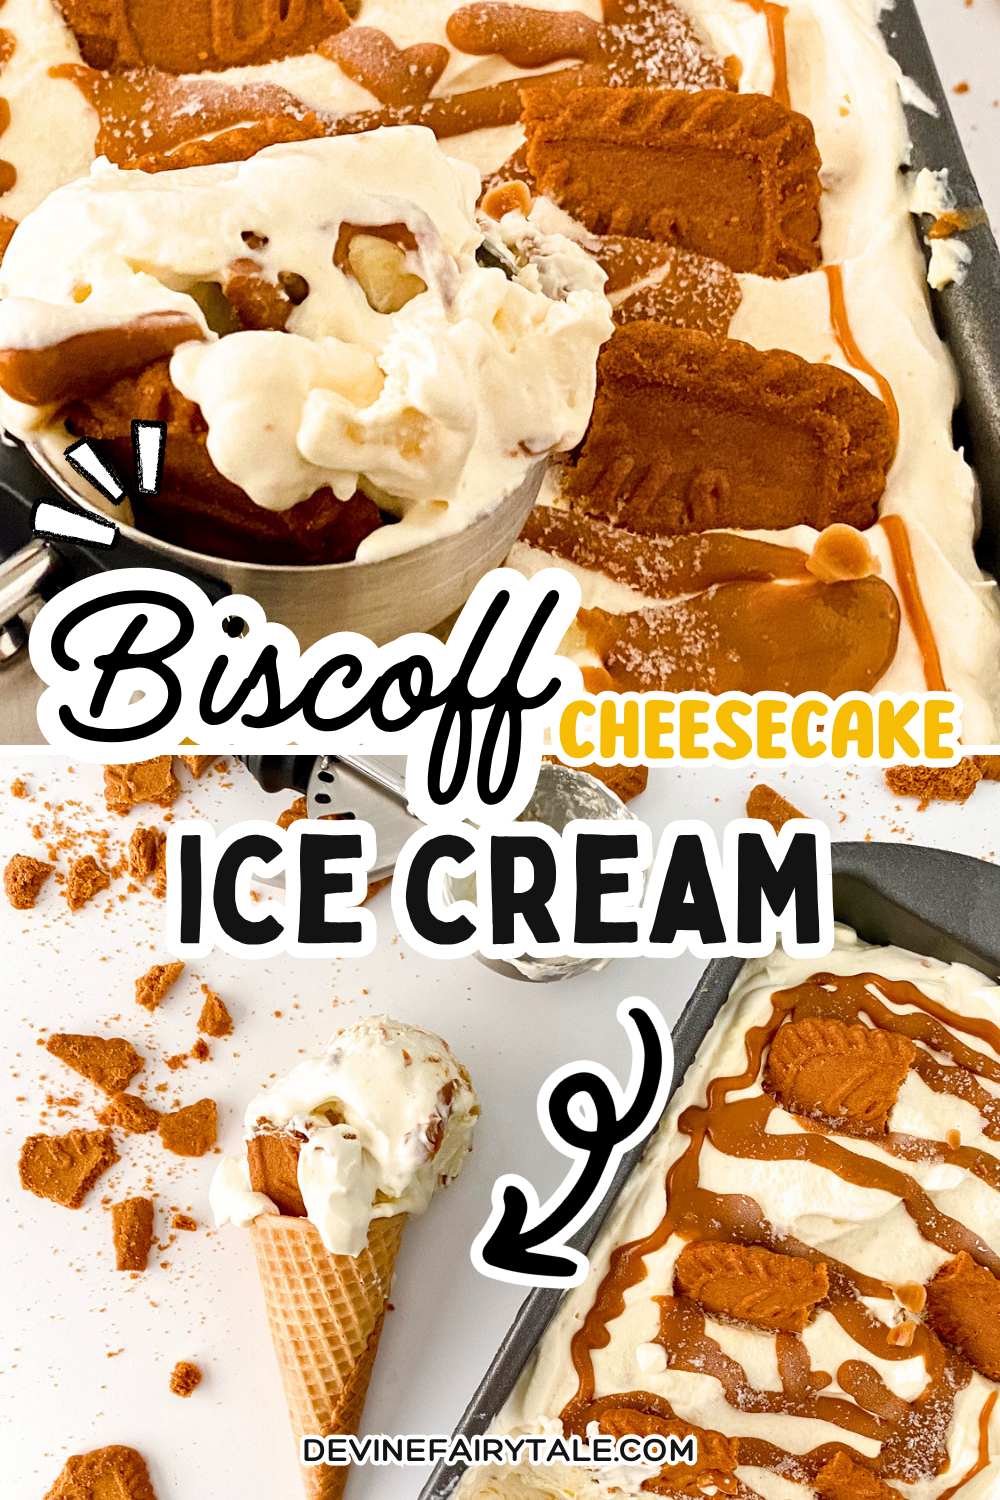
Biscoff Cheesecake Ice Cream That Feels Like a Little Treat at Home
Please note, this post may contain affiliate links. Visit Devine Fairytale’s Disclosure Policy for more details.
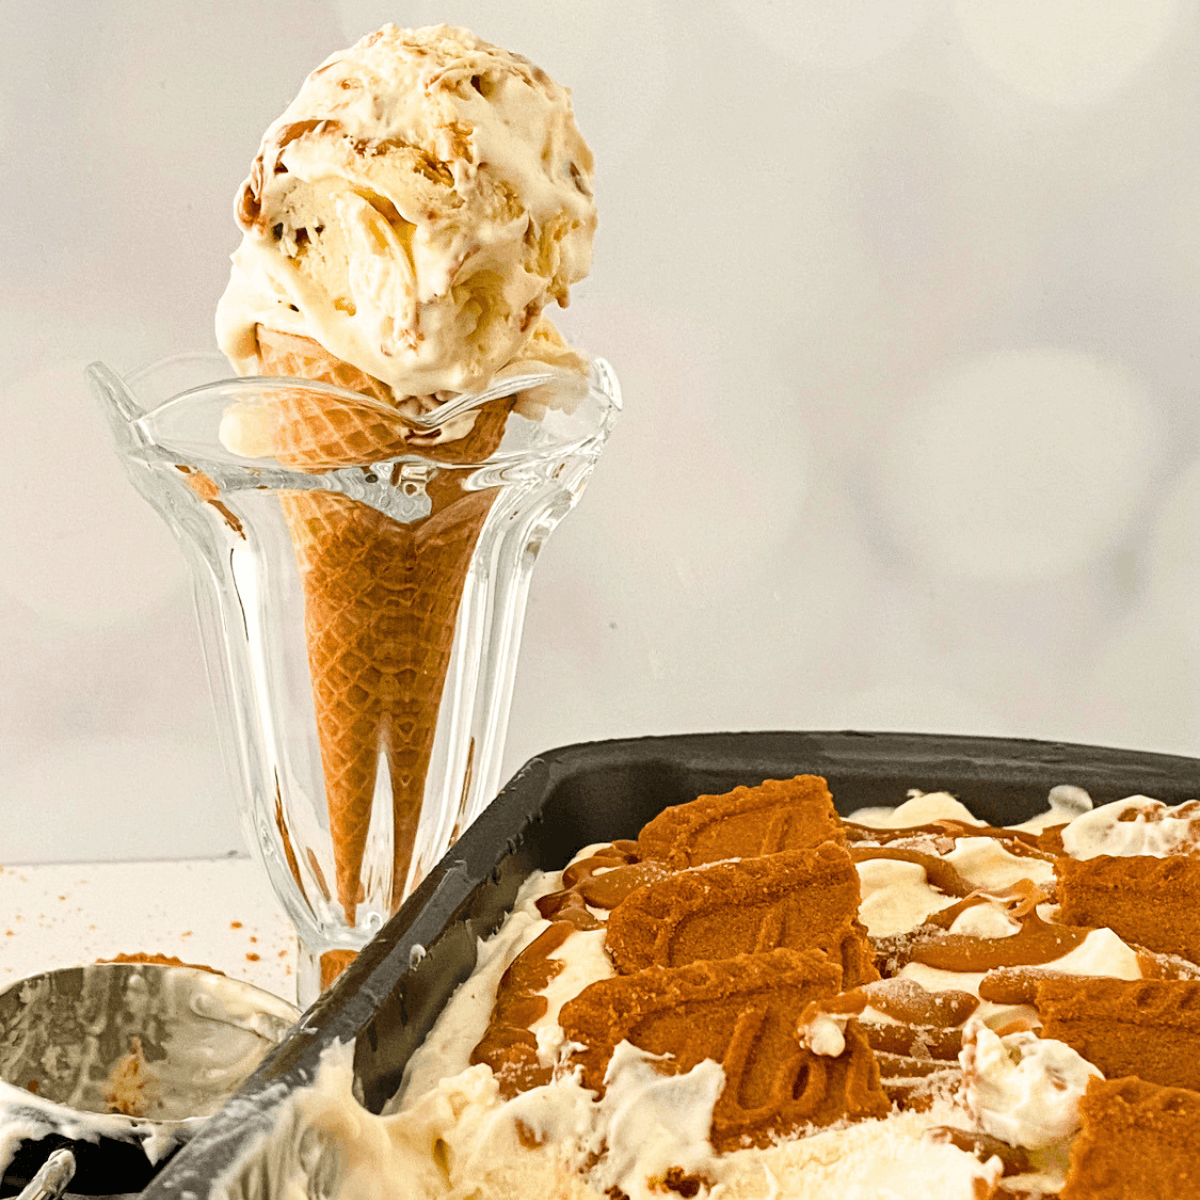
If you love cookie butter, this Biscoff Cheesecake Ice Cream is one of those recipes that just feels special without being complicated. It is creamy, layered with cookie butter, and has that rich cheesecake swirl that makes every bite a little moment.
This is the kind of dessert you make once and then keep thinking about. It is simple enough to throw together in minutes, but it feels like something you picked up from a cute bakery or ordered for a girls night out.
I love having this in the freezer for those nights when you want something sweet but don’t want to leave the house. It is easy, it is indulgent, and it turns an ordinary night at home into something a little more fun.

What Makes This Biscoff Cheesecake Ice Cream So Good
There is something about combining Biscoff cookie butter and cheesecake that just works. The cookie butter melts into the creamy base and creates these ribbons of flavor throughout, while the cheesecake adds a richness that makes it taste like more than just ice cream.
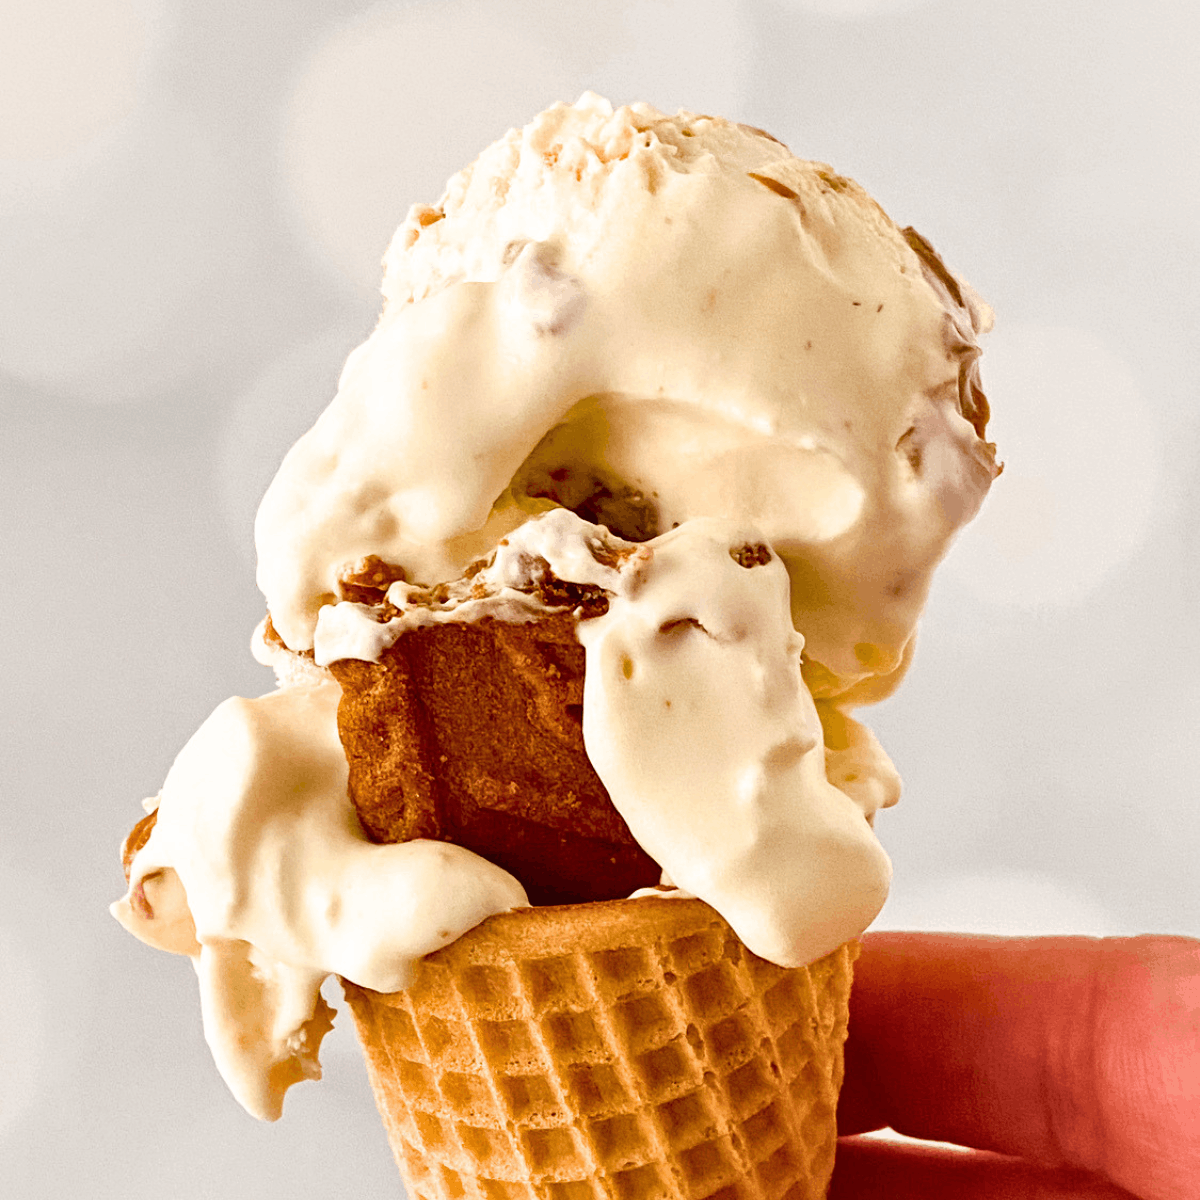
This Biscoff ice cream has that soft, creamy texture that scoops beautifully straight from the freezer, especially if you let it sit out for a couple of minutes. It feels like something you would order at a cute dessert shop, but you made it at home in your kitchen in about ten minutes.
It is also one of those recipes that is easy to adjust depending on what you have. You can add more cookie butter if you want it extra rich, or more cookies if you like a little crunch in every bite.

What You Need to Make Biscoff Cheesecake Ice Cream at Home
Before you get started, it helps to have everything out and ready to go. Once you begin, this comes together quickly.
- Mixing Bowl
- Loaf Pan
- Hand Mixer or Stand Mixer
- Spatula
- Plastic Wrap
- Ice Cream Scoop
Ingredients for Homemade Biscoff Ice Cream
This recipe uses simple ingredients, but when they come together, it creates something that tastes so much more elevated.
- 2 Cups Heavy Whipping Cream
- 1 14 Ounce Can Sweetened Condensed Milk
- 1 1/2 Cups No Bake Cheesecake
- 5-7 Biscoff Cookies
- 1/4 Cup Biscoff Cookie Butter
- 1 Tablespoon Vanilla Extract
Directions to Make Biscoff Cheesecake Ice Cream
Prep time: 10 minutes
Freeze time: 6 to 8 hours
Total time: 6 to 8 hours
Yield: 8 to 10 servings
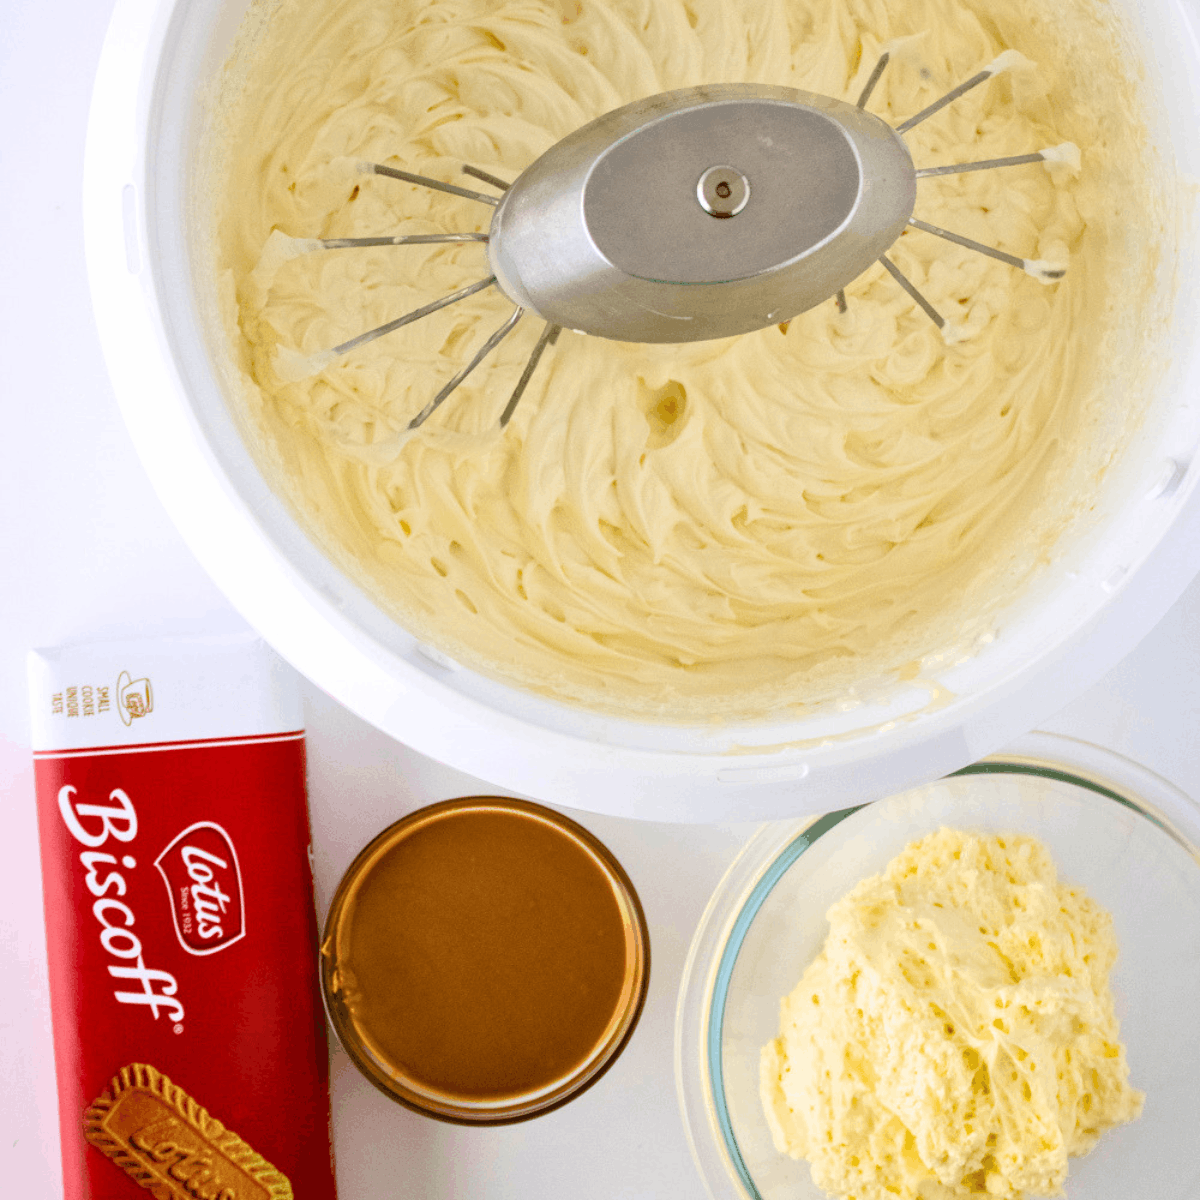
- Start by whipping your heavy cream for about two to three minutes until it becomes light and frothy. You want it airy but not over whipped.
- Add in the vanilla extract and sweetened condensed milk, then mix on high until soft peaks form. This is what creates that smooth, creamy texture that makes homemade Biscoff ice cream so good.
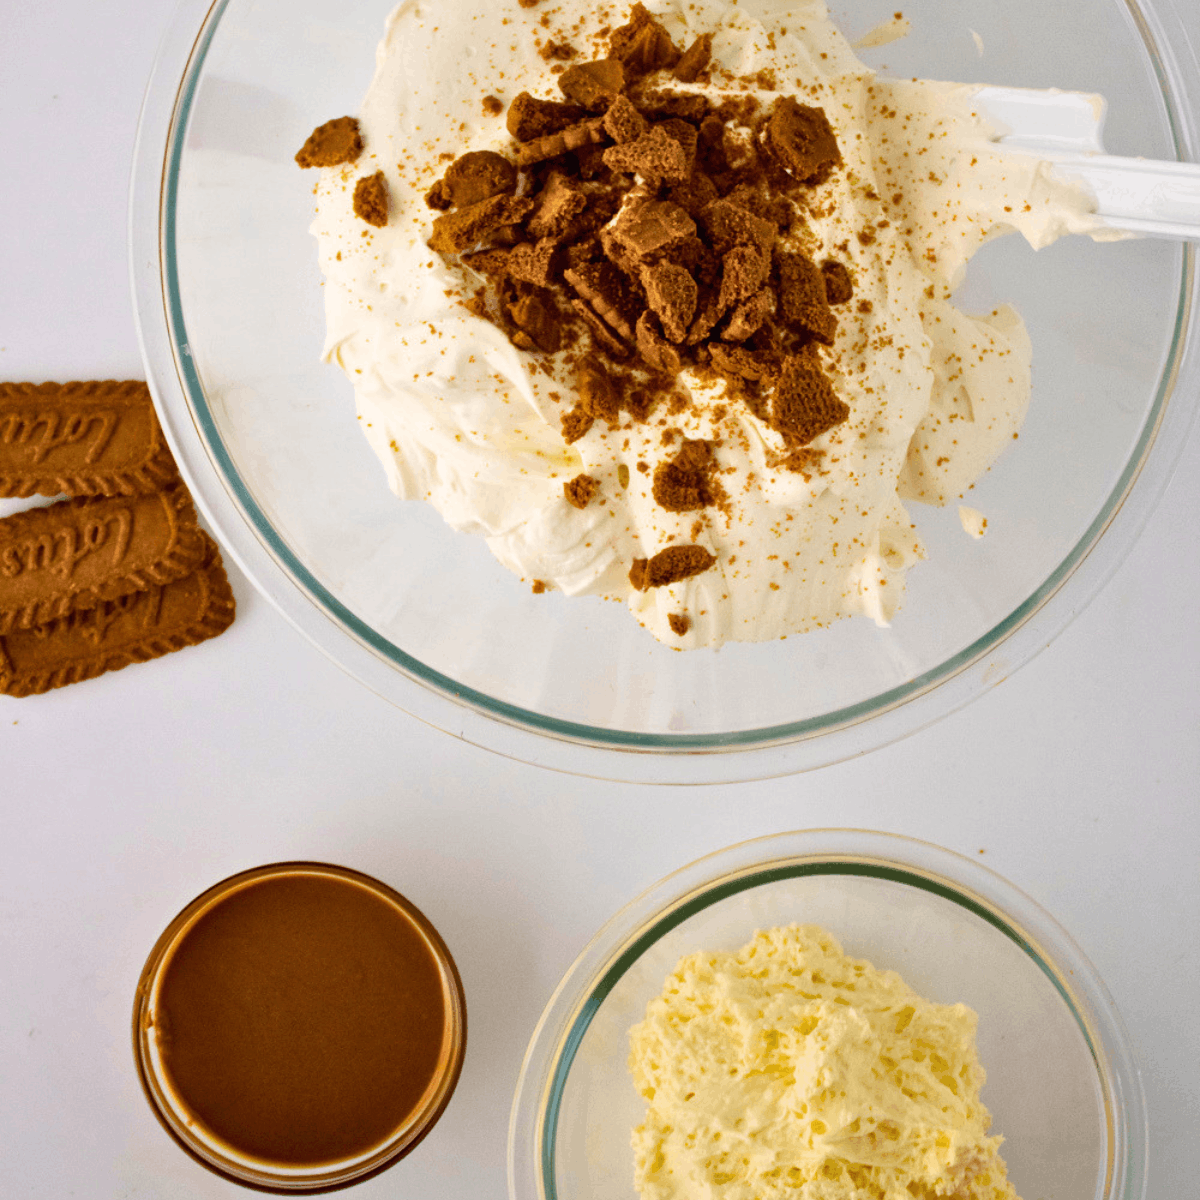
- Once your base is ready, gently fold in the crushed Biscoff cookies. This gives you little pieces of cookie throughout instead of everything blending together.
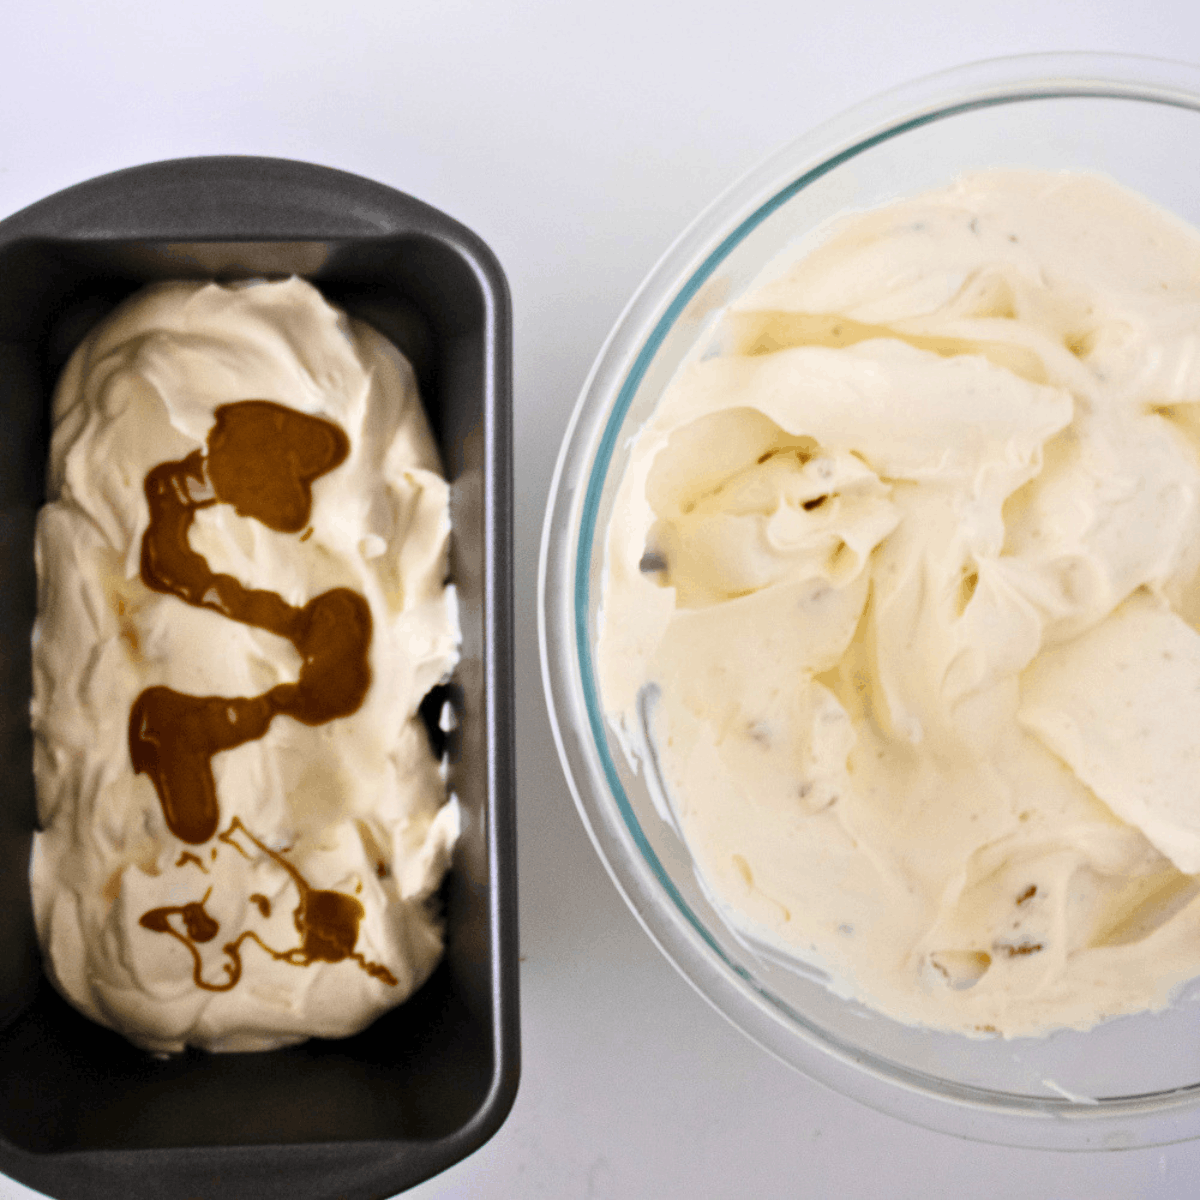
- Now you will start layering. Add about one third of the mixture into your loaf pan and smooth it out slightly. Drizzle a layer of melted Biscoff cookie butter over the top, then add a few dollops of the no bake cheesecake filling.
- Repeat this process with another layer of the ice cream mixture, followed by more cookie butter and cheesecake. Finish with a final layer on top, then add a little extra cookie butter and cheesecake for that swirled look.
- Cover the pan with plastic wrap and place it in the freezer. Let it freeze for at least six hours if you want a softer texture, or closer to eight hours or overnight for a firmer, scoopable consistency.
Tips for the Best Biscoff Ice Cream Texture
The texture of this Biscoff Cheesecake Ice Cream is what makes it so good, and there are a few simple things that help it turn out just right.
Make sure your heavy cream is cold before whipping. This helps it hold structure and gives you that light, airy base. When you mix everything together, keep it gentle so you do not lose that texture.
If your cookie butter is too thick to drizzle, warm it slightly so it spreads easily. This helps create those pretty layers instead of clumps.
After freezing, if the ice cream feels a little firm, let it sit on the counter for a few minutes before scooping. It will soften quickly and be much easier to serve.

What to Know Before You Freeze Your Biscoff Ice Cream
The mixture will look light and fluffy before freezing, almost like a mousse. That is exactly what you want. That air is what keeps it from freezing into a solid block.
When layering, do not overmix the cookie butter and cheesecake into the base. Let them stay slightly separate so you get those swirls instead of everything blending together.
Also, your freezer matters more than you think. If it runs a little warm, you may need closer to eight hours for the best texture.
Ways to Serve Biscoff Cheesecake Ice Cream
This Biscoff Cheesecake Ice Cream is perfect on its own, but it is also really fun to dress up depending on the moment.
You can scoop it into waffle cones, top it with extra crushed Biscoff cookies, or drizzle even more cookie butter on top. It is also such a good addition to a dessert night at home. Think brownies, cookies, or even a little movie night spread where everyone can build their own bowl.
It is one of those desserts that feels simple but still makes the moment feel a little more special.

How to Store Your Homemade Biscoff Cheesecake Ice Cream
Once your ice cream is fully set, keep it covered tightly in the freezer. It will stay fresh and creamy for about one to two weeks.
If you want to keep the texture as smooth as possible, press a layer of plastic wrap directly on top of the ice cream before sealing your container. This helps prevent ice crystals from forming.

Biscoff Cheesecake Ice Cream Recipe
Ingredients
- 2 cups Heavy Whipping Cream
- 14 oz Can Sweetened Condensed Milk
- 1 1/2 cups No Bake Cheesecake
- 5-7 Biscoff Cookies
- 1/4 cup Biscoff Cookie Butter
- 1 tablespoon Vanilla Extract
Instructions
- Start by whipping your heavy cream for about two to three minutes until it becomes light and frothy. You want it airy but not over whipped.
- Add in the vanilla extract and sweetened condensed milk, then mix on high until soft peaks form. This is what creates that smooth, creamy texture that makes homemade Biscoff ice cream so good.
- Once your base is ready, gently fold in the crushed Biscoff cookies. This gives you little pieces of cookie throughout instead of everything blending together.
- Now you will start layering. Add about one third of the mixture into your loaf pan and smooth it out slightly. Drizzle a layer of melted Biscoff cookie butter over the top, then add a few dollops of the no bake cheesecake filling.
- Repeat this process with another layer of the ice cream mixture, followed by more cookie butter and cheesecake. Finish with a final layer on top, then add a little extra cookie butter and cheesecake for that swirled look.
- Cover the pan with plastic wrap and place it in the freezer. Let it freeze for at least six hours if you want a softer texture, or closer to eight hours or overnight for a firmer, scoopable consistency.
Nutrition
Biscoff Cheesecake Ice Cream FAQs
- Can I make this without cheesecake filling?
- Yes, but it will change the flavor slightly. The cheesecake adds richness and a little tang that balances the sweetness. Without it, the ice cream will be more purely Biscoff flavored.
- Do I need an ice cream maker?
- No, and that is what makes this recipe so easy! This is a no churn Biscoff ice cream, which means the whipped cream does all the work for texture.
- Can I use store bought cheesecake filling?
- Yes, that works perfectly here and keeps the recipe simple. If you already have a homemade version you like, you can use that too.
- How long does homemade Biscoff ice cream last?
- It is best within one to two weeks. After that, the texture can start to change slightly.
Your New Go-To Biscoff Cheesecake Ice Cream Recipe
This Biscoff Cheesecake Ice Cream is one of those recipes that just fits into real life. It is easy to make, it does not require anything fancy, and it feels like a little treat waiting for you at the end of the day.
It is perfect for summer, but honestly, it is just as good for a cozy night in when you want something sweet without putting in a ton of effort. Those are always my favorite kinds of recipes.
